Summary
This article is about adding a custom font to your WordPress website, that you either have as a file (otf, ttf, woff etc.), or you want to add a Google or an Adobe font.
Having multiple fonts is cool
Many modern designs are using a combination of two fonts, to spice things up. It’s a fantastic way to elevate your design and make it cool. There are also many articles that recommend different font combinations, I personally think that the best is to choose some web safe font for a good reading experience, more about those here, and some epic font for headings or your hero section.
Adding a font from a file
Luckily, there is a marvelous plugin, that allows you to upload your font to your WordPress and use it as you like. It’s called Use any font (https://wordpress.org/plugins/use-any-font/).
The plugin promises that it will convert your font to a file format called .woff2, I personally prefer to convert it ahead and upload it in this format. And of course, that is the necessary format that you need to use the font on your website. You can convert it ahead, for example, in this free converter.
How to use “Use Any Font”
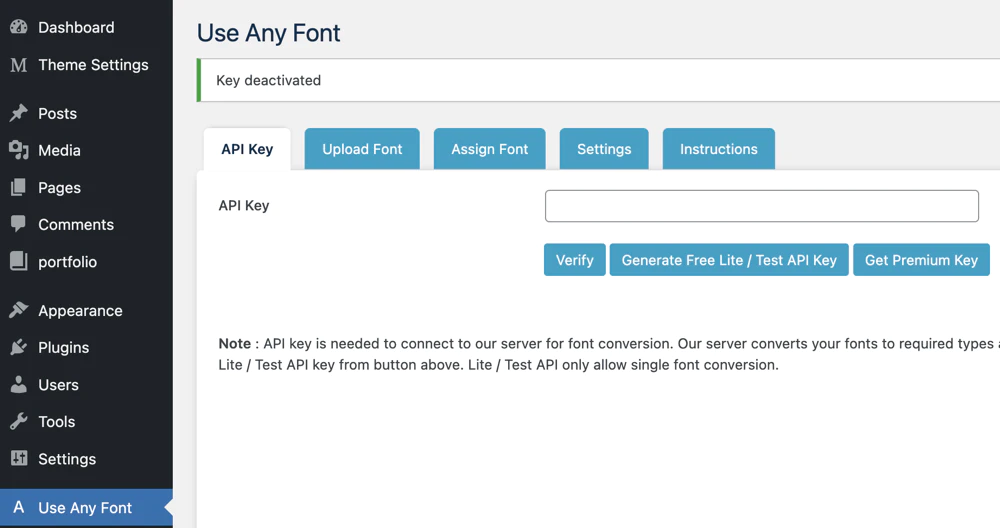
After you install and activate the plugin, you have to generate and verify an API key. All that means is that you click buttons: “Generate Free Lite / Test API Key” and then you press “Verify”. Easy.
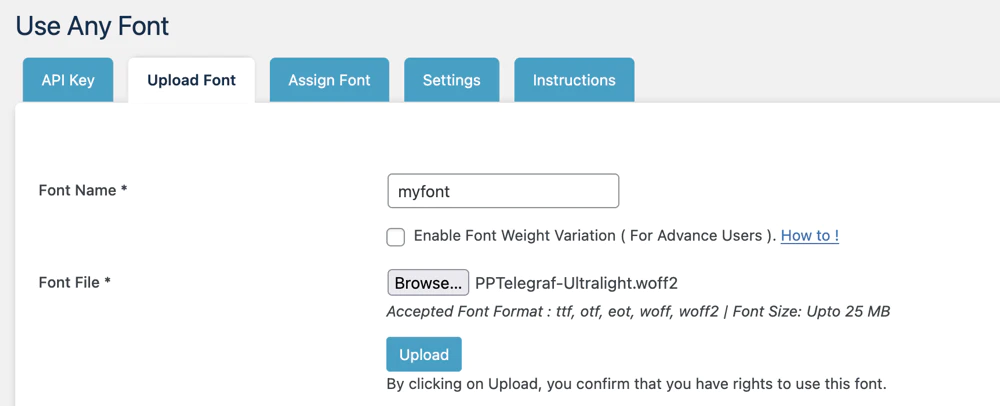
Next, you have to upload your font. Surprise, you do that in the section “Upload font”. First, give it a name, doesn’t really matter, just make it simple, I would recommend using only lowercase characters, no number, no special characters, no spaces.
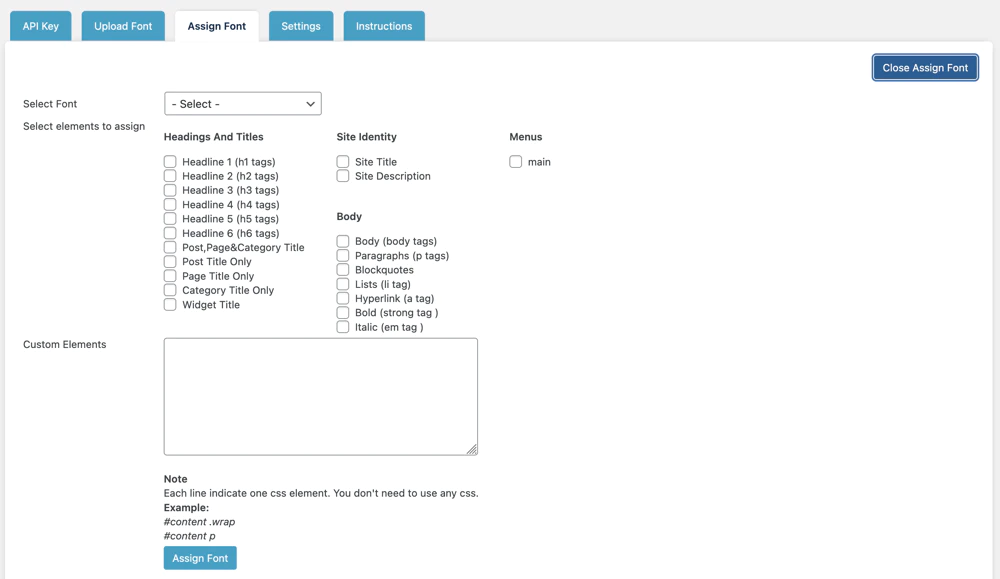
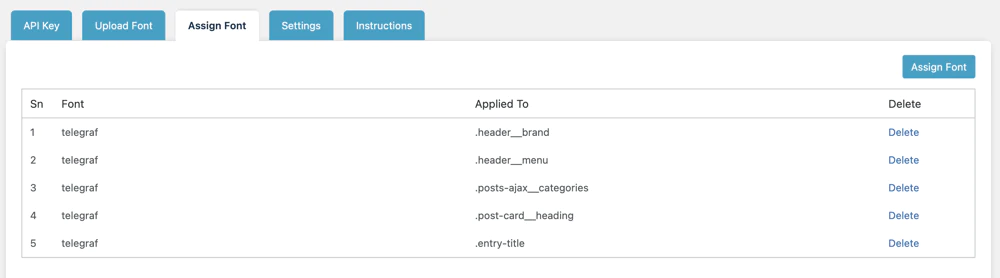
Last thing, you have to tell the plugin, where to use this font. Again, very surprising, you do that in the section “Assign Font”. Just press the “Assign Font” button on the right. That gives you a possibility of selecting some HTML elements, like headings, or even the whole body. There are also some special parts like “Site identity”, but depending on your theme, those might not work.
In case that selection doesn’t work, you can use classes from your theme. To find the correct class, you have to use the developer mode in your browser. I have explained a little bit about this in this CSS tutorial video. Here are some classes from Minimalio theme, that might be what you are looking for.
Classes for Minimalio theme
- Logo / Site identity – .header__brand
- Main menu – .header__menu
- Blog / Portfolio filtering categories – .posts-ajax__categories
- Blog / Portfolio postcard heading – .post-card__heading
- Page / Post entry title – .entry-title
You always have to have the dot before the class!
So, this would be the result, here I am using the telegraf font that I have uploaded.
Adding a font from Google fonts
So, firstly, many themes, including Minimalio come with Google fonts already. So if you are using Minimalio, this is only for you, if you want to use more than one Google font.
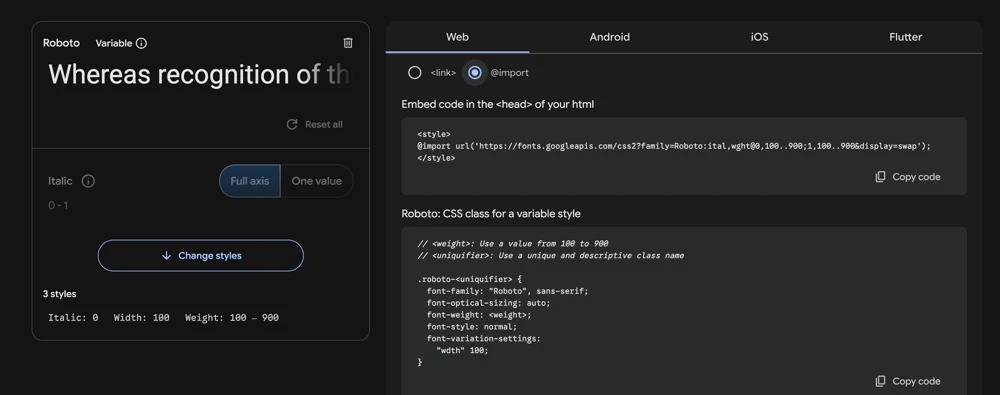
We have to start by importing the font into the website. There are two options to do this, you either have to add the link to your HTML head, to do that within WordPress, you would have to download some plugin. Therefore, to avoid that, let’s use the other method, with CSS.
You find the font you want, then you click “Get font”. After that, you click “Get embed code” and then you have to select the “@import” button.
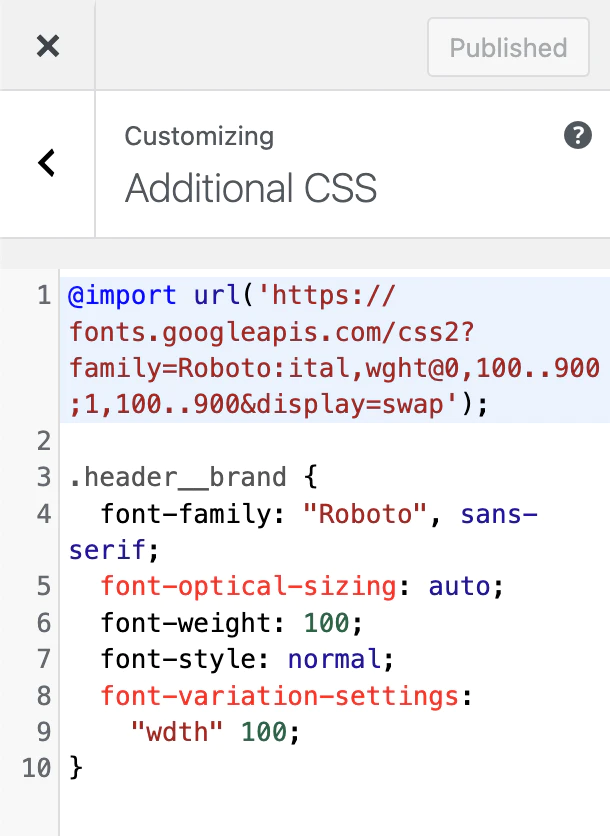
First, you add the import rule to your Additional CSS (Theme options -> Additional CSS), you can take a look at this CSS tutorial video to see where to find that. After you copy and paste the import rule, you have to assign the font to a class, and you have to choose the font weight. So you can use the classes mentioned above, for Minimalio theme. For example:
Adding Adobe fonts
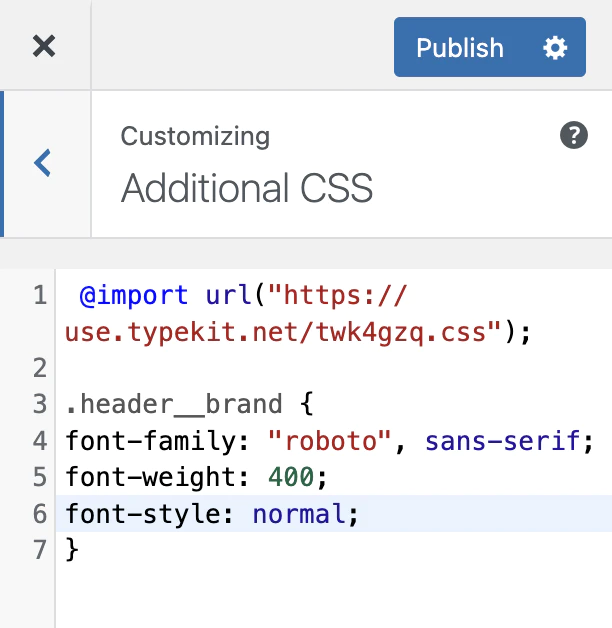
With the Adobe fonts, it’s the same as with Google fonts. It’s just harder to find the right import code. First, you need an Adobe account. Plus, some fonts are not allowed to be used like this. But with, for example Roboto, You have to use the “Add to Web Project” button. Then create a project. Then click “@import” and this is where you should end up:
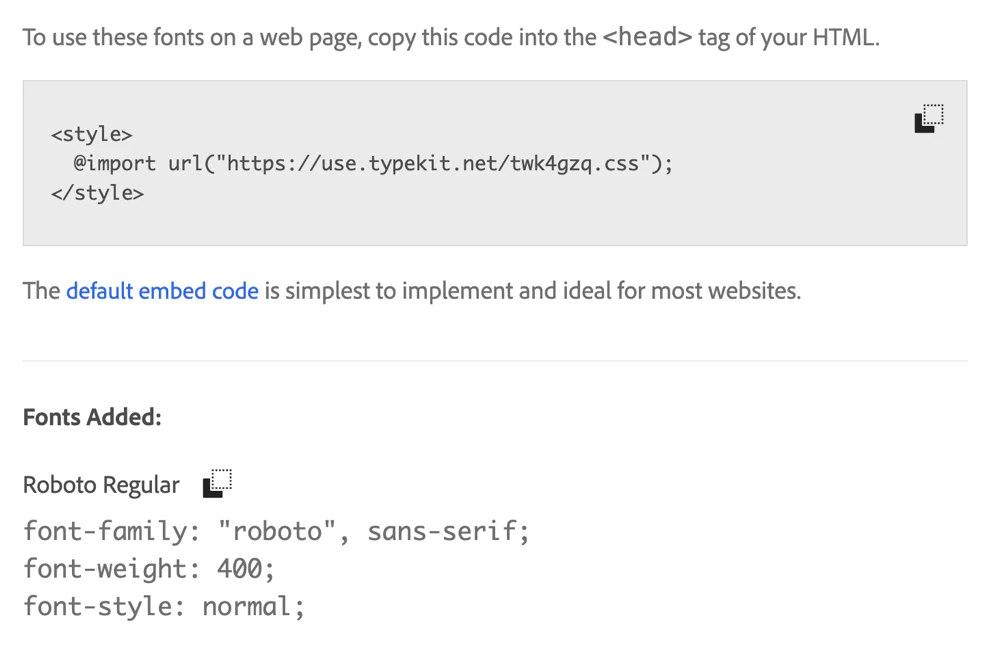
So again, you have to add the code to your Additional CSS (Theme options -> Additional CSS), you can take a look at this CSS tutorial video to see where to find that and again, use a CSS class to assign the font. This should be the result:
I hope this article was helpful and good luck!